Full-mouth All-on-X rehabilitation (both arches): straight to final without a try-in, more visible upper teeth, straightened incisal edge
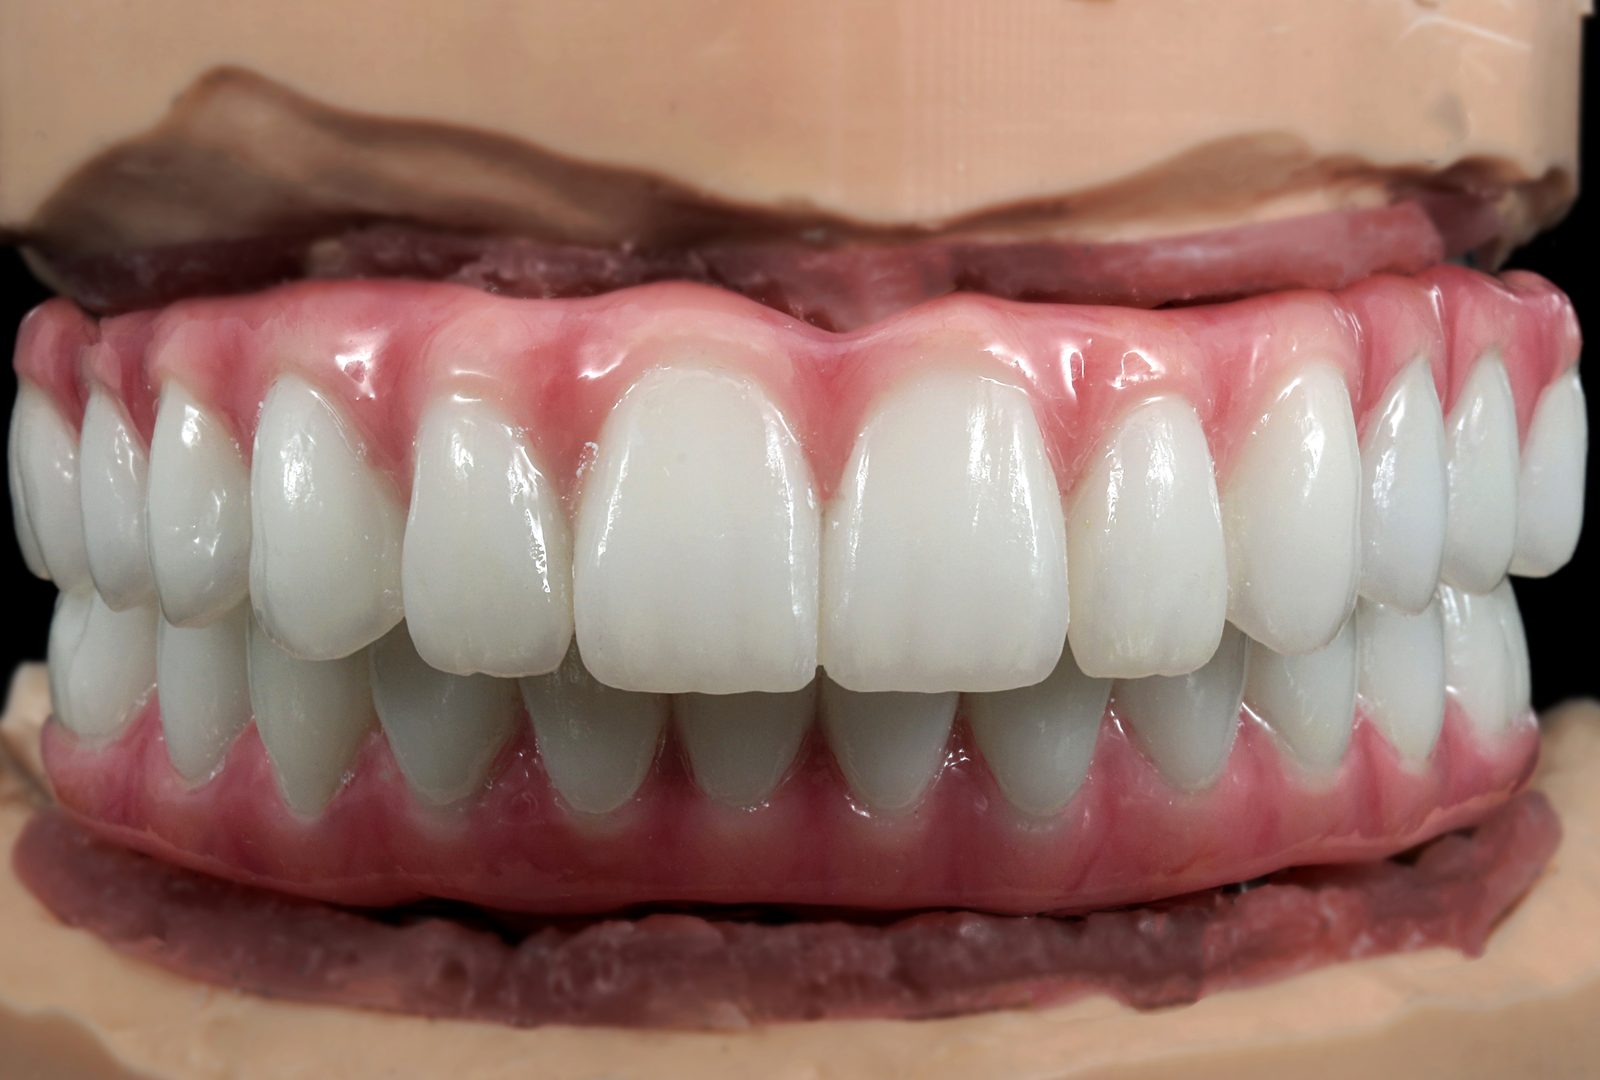
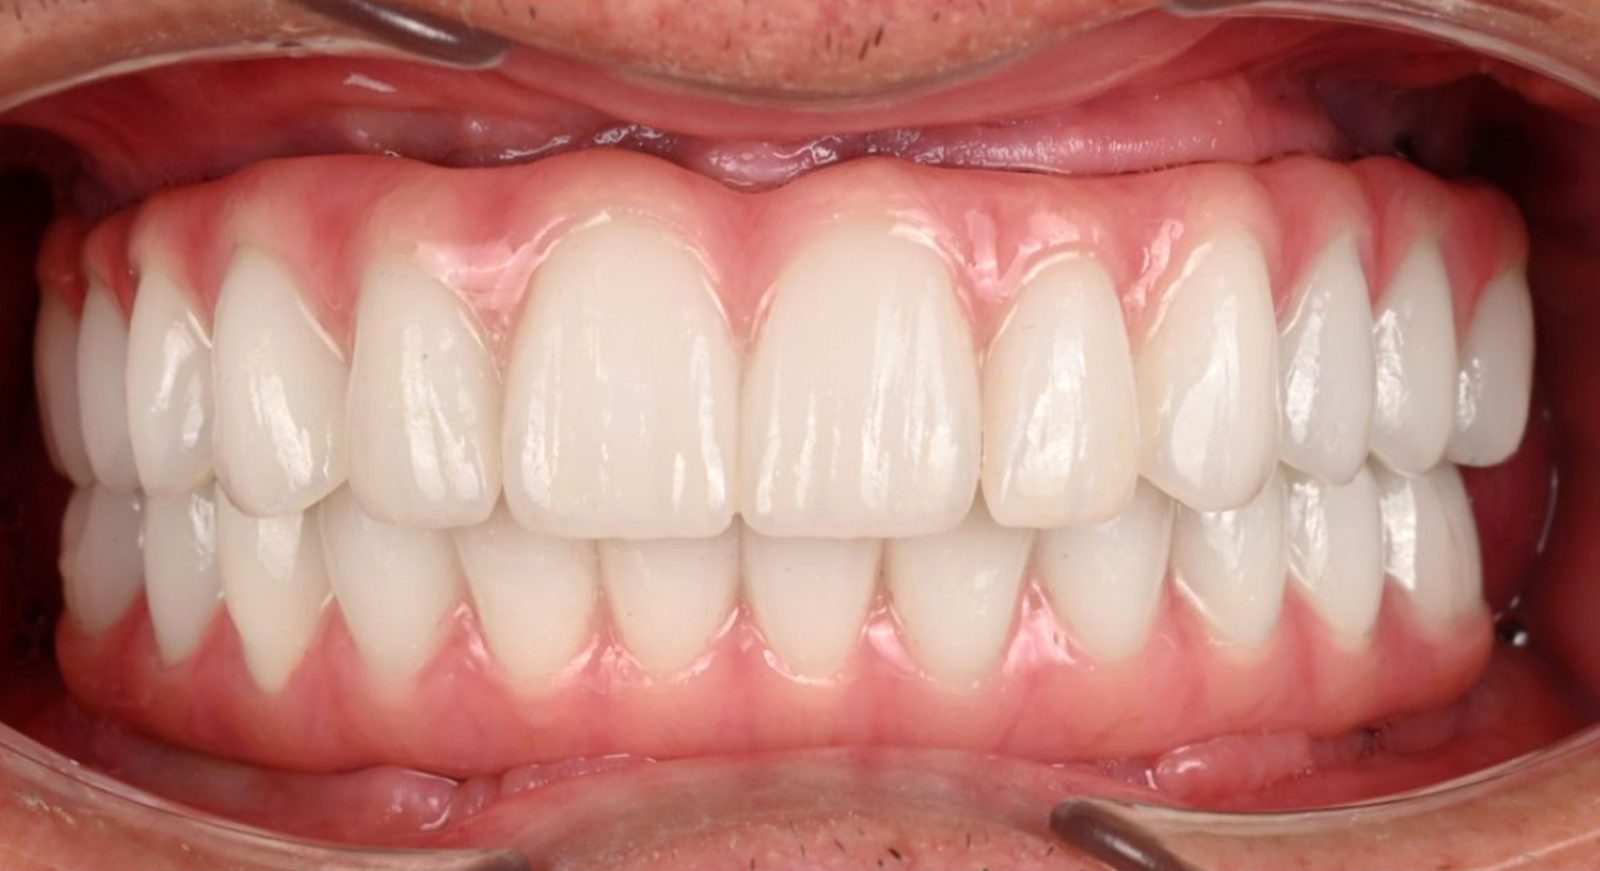
A case taken straight to the final work with no intermediate try-in: the photos and preoperative scans were enough to make the upper teeth more visible, the lower teeth less visible and to straighten the incisal edge.
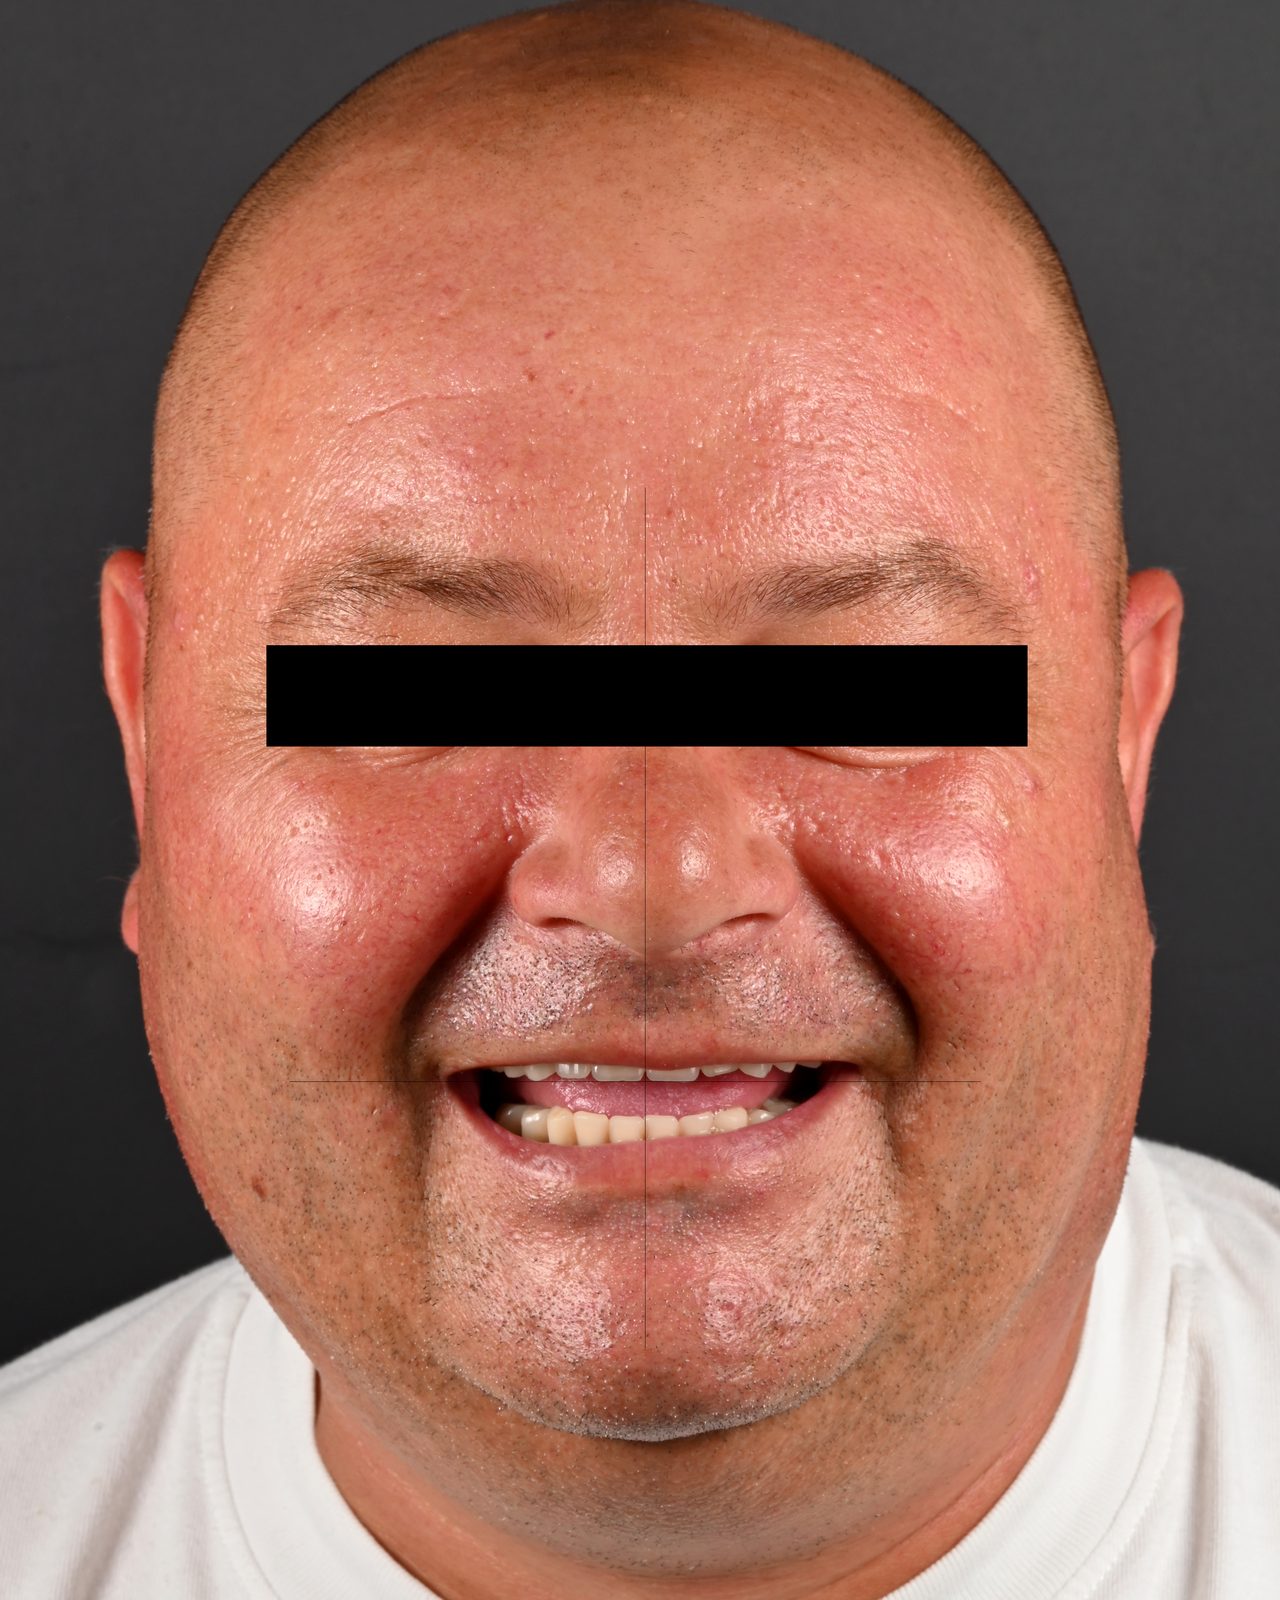
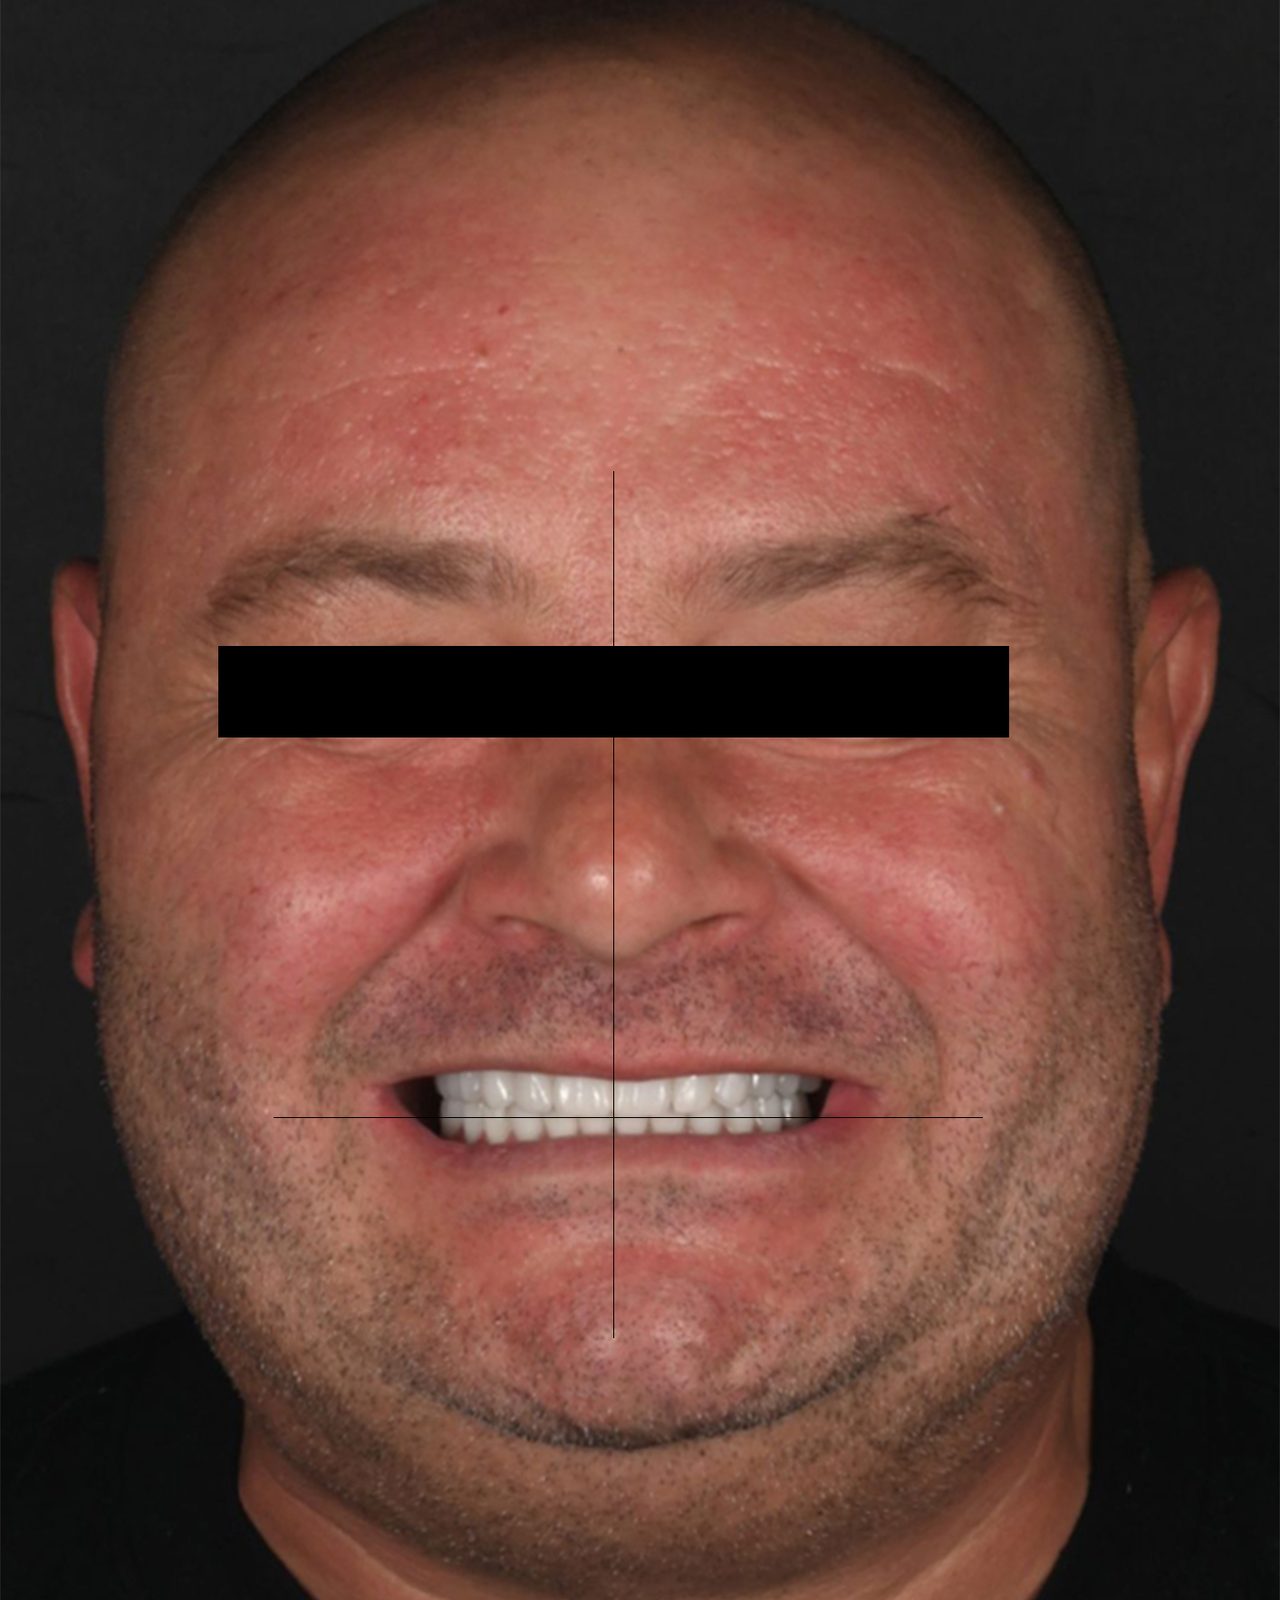
Situation
The provisionals for this patient were made in our laboratory, following the 24-hour protocol for immediate loading. The dentist told me the patient was happy with the provisionals overall, but would have liked his upper teeth to show more and the lower ones less, and the incisal edge had been worn down/adjusted quite crookedly.
The dentist told me we could take the case straight to the final work, without another try-in, since I had also received preoperative scans that I could use for the requested changes, and left everything to my judgement. The one problem was the digital library for the implant system that had been placed: it delayed me by a few days, until I received it from the distributor.
Decision
I decided that the photos and the preoperative scans were enough for me to make the changes needed because the upper teeth were showing too little. I chose to make the case without any try-in: no setup try-in, and no other try-in with titanium frameworks and 3D-printed full-contour crowns.
On the lower arch there was little to change: I only made the lower teeth less visible.
Result
For me, a result is successful when I receive photos from the clinic or the coordinating dentists and see a spark of happiness in the patients’ eyes. That tells me I have done a good job.
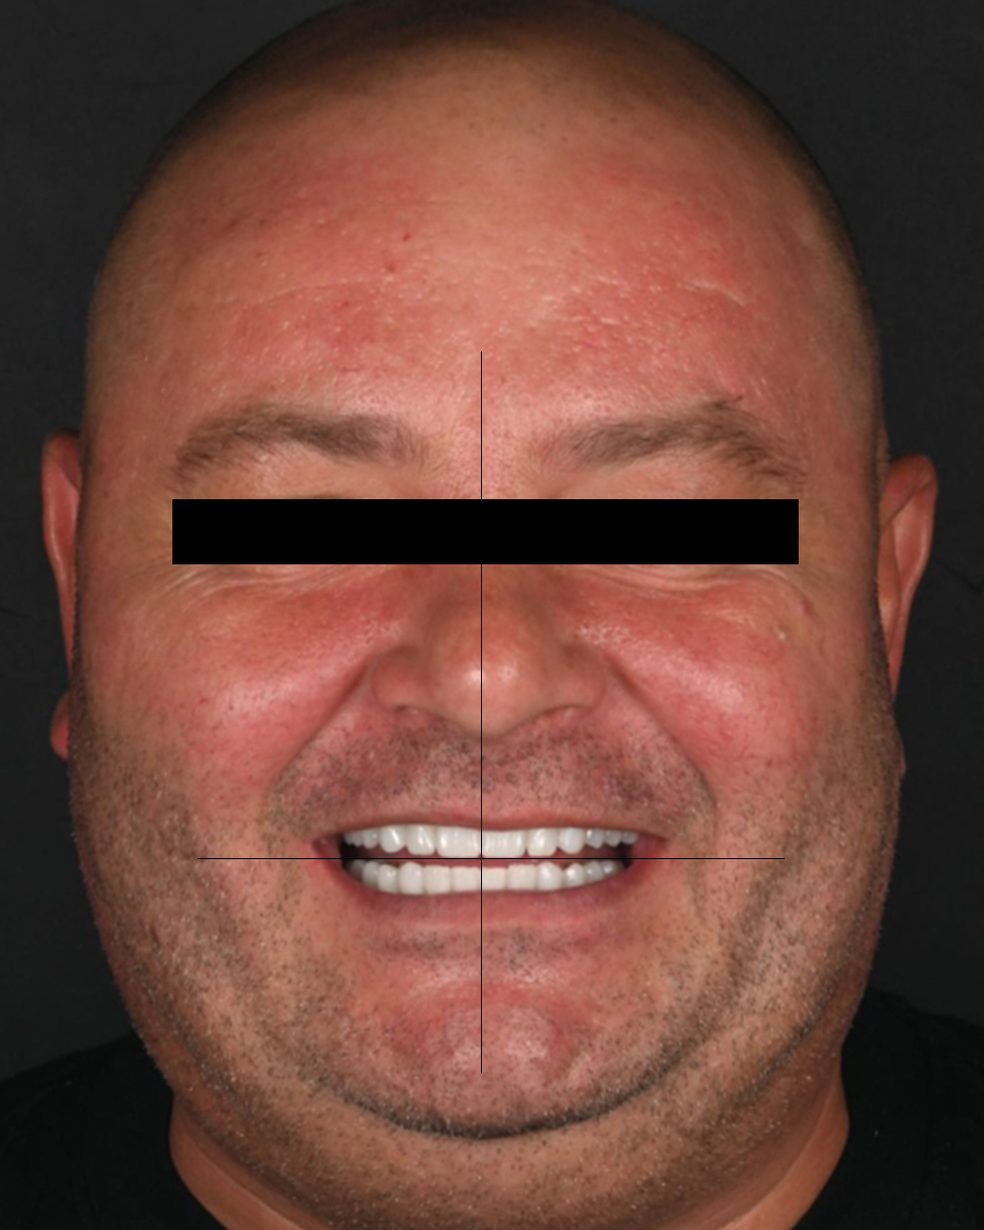
The coordinating dentist also confirmed that no occlusal adjustment was needed, that the length of the upper teeth had been corrected properly, and that the incisal edge had been straightened, in the correct plane relative to the bipupillary line.
Case steps
Initial situation
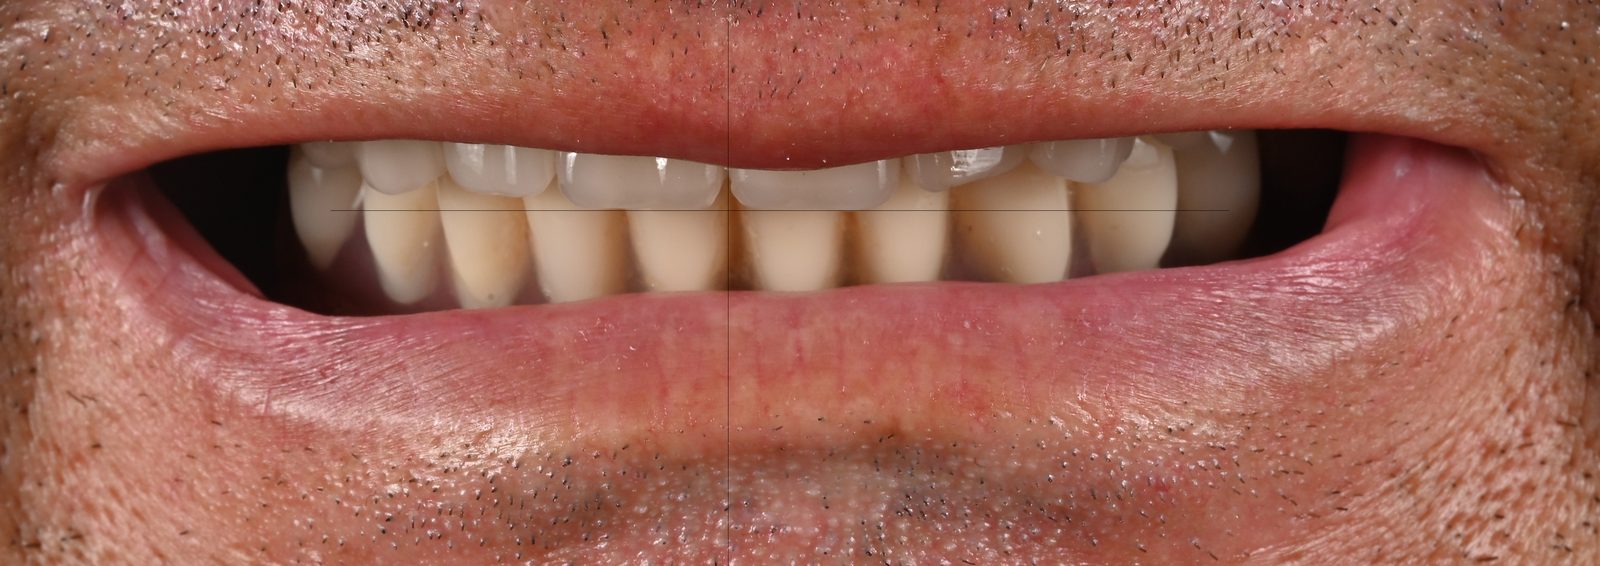
The provisional
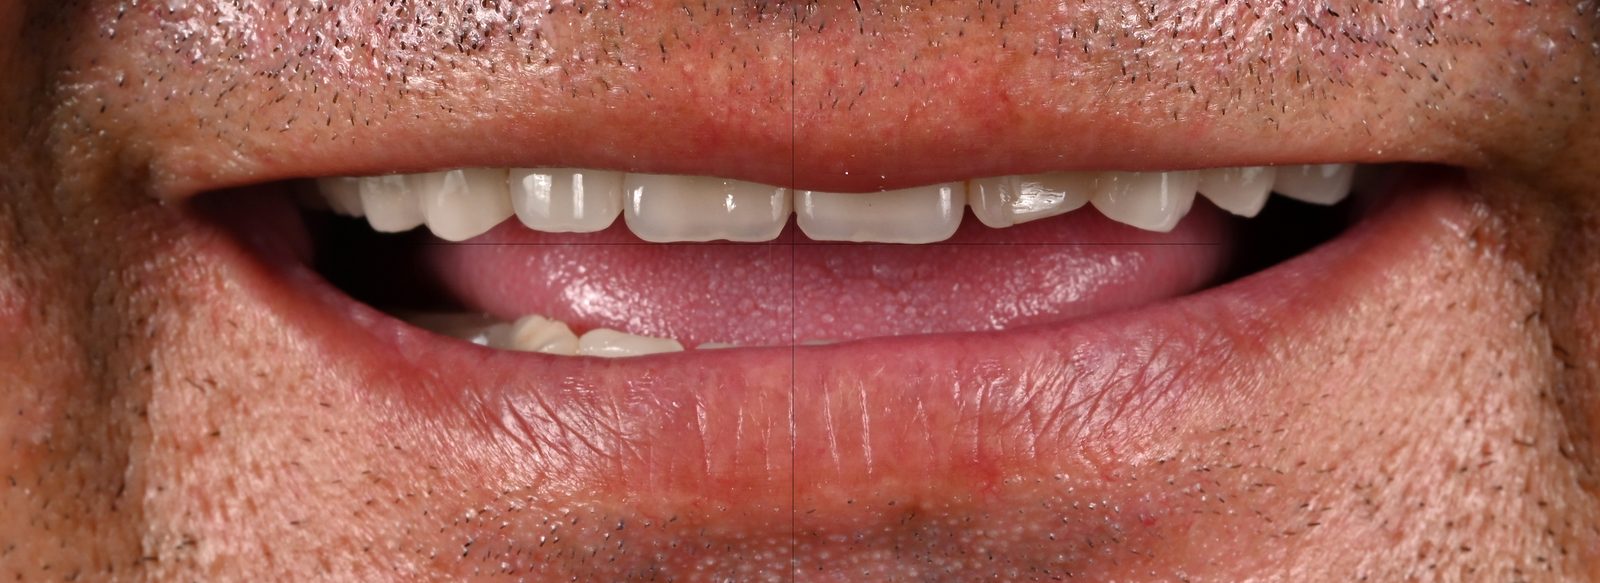
Laboratory: the final work
Final result
More cases
Contact
I reply personally to complex cases.
WhatsApp / Phone: +40 773 701 701
Email: hello@soho.ws